Managing Customers
The Customers tab allows you to manage the customer data. You can create new customers or edit the existing ones from this tab.
How to Add a New Customer?
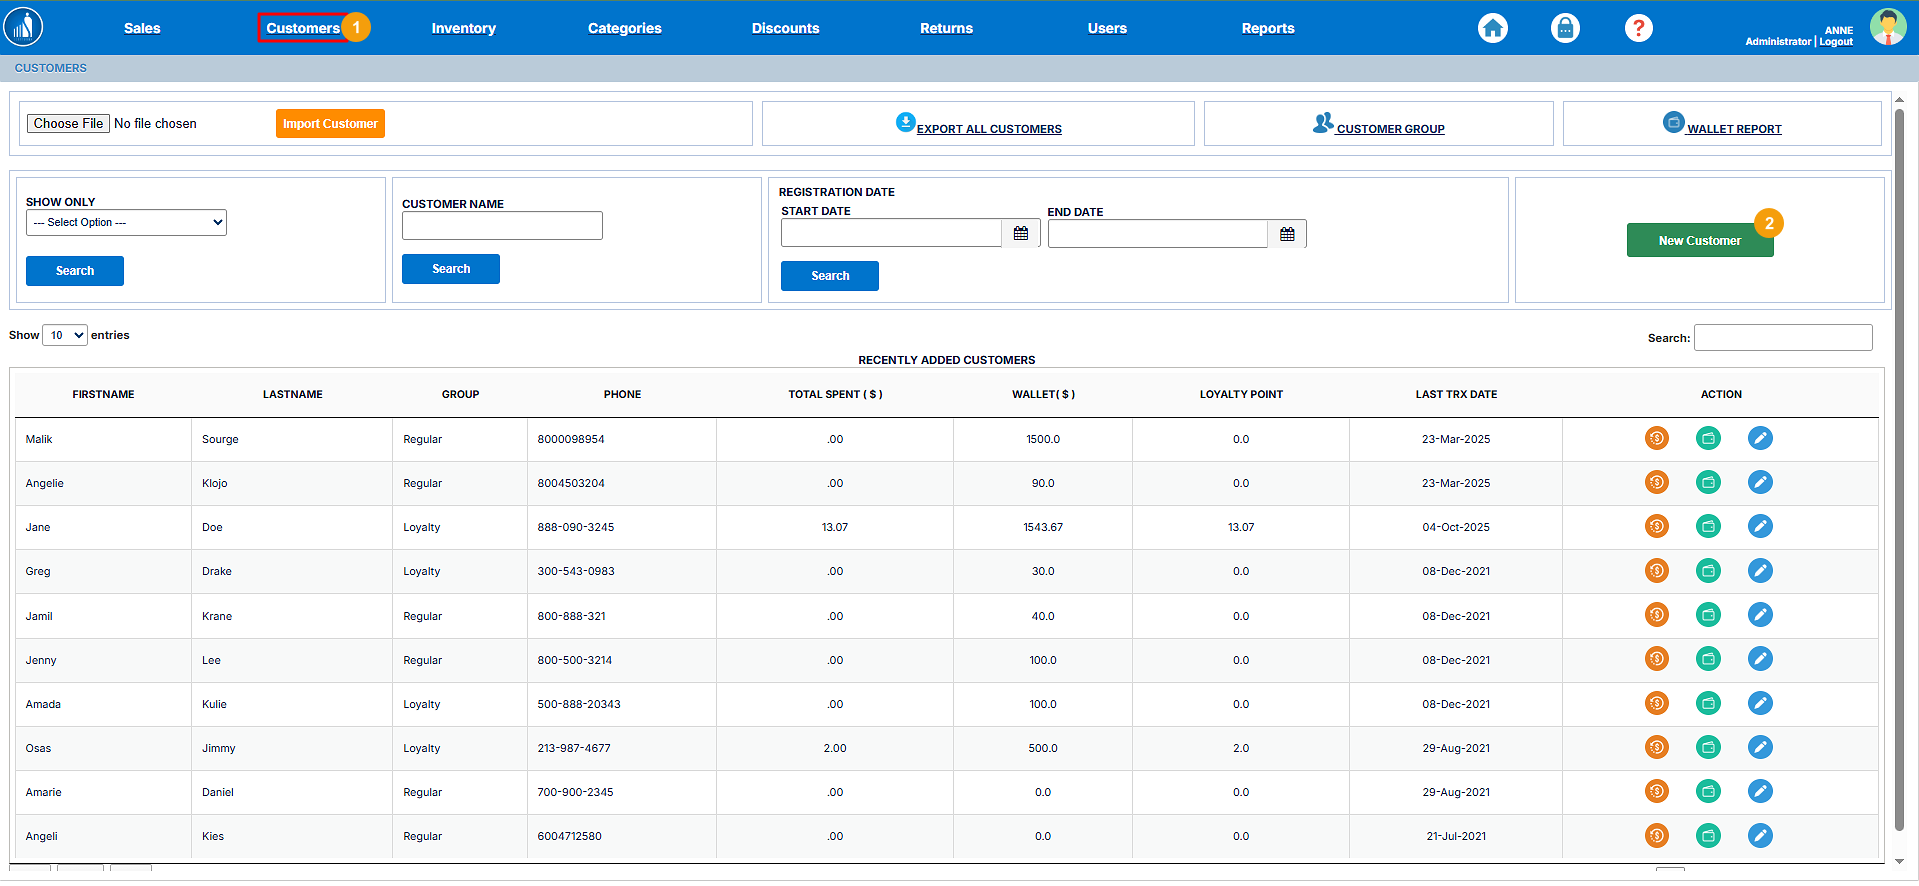
1. Go to the Customers tab.
2. Click the New Customer button.
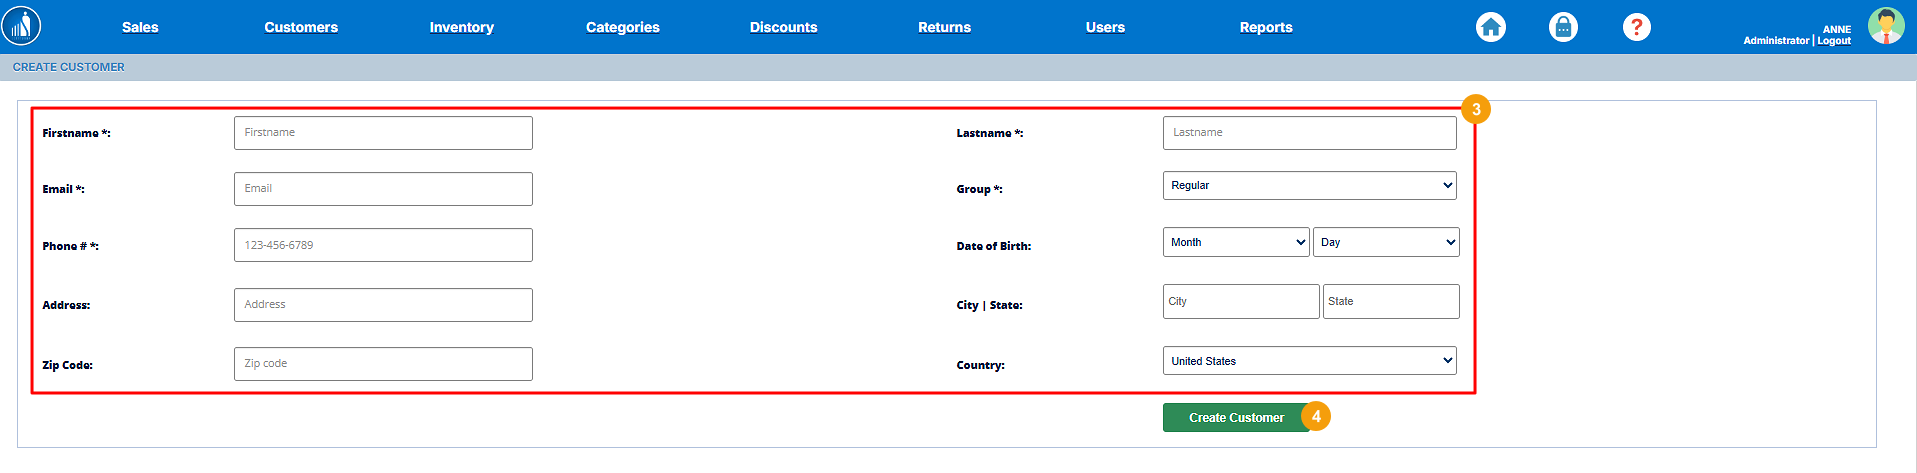
3. Enter the customer details.
4. Hit Create Customer.
Importing Customers
If you want to add multiple customers all at once, you can import them from a CSV as follows:
1. Go to the Customers tab.
2. Click on Choose File and select the file containing customer data.
3. Hit Import Customer.

All the customers will be added to the database.
Exporting Customers
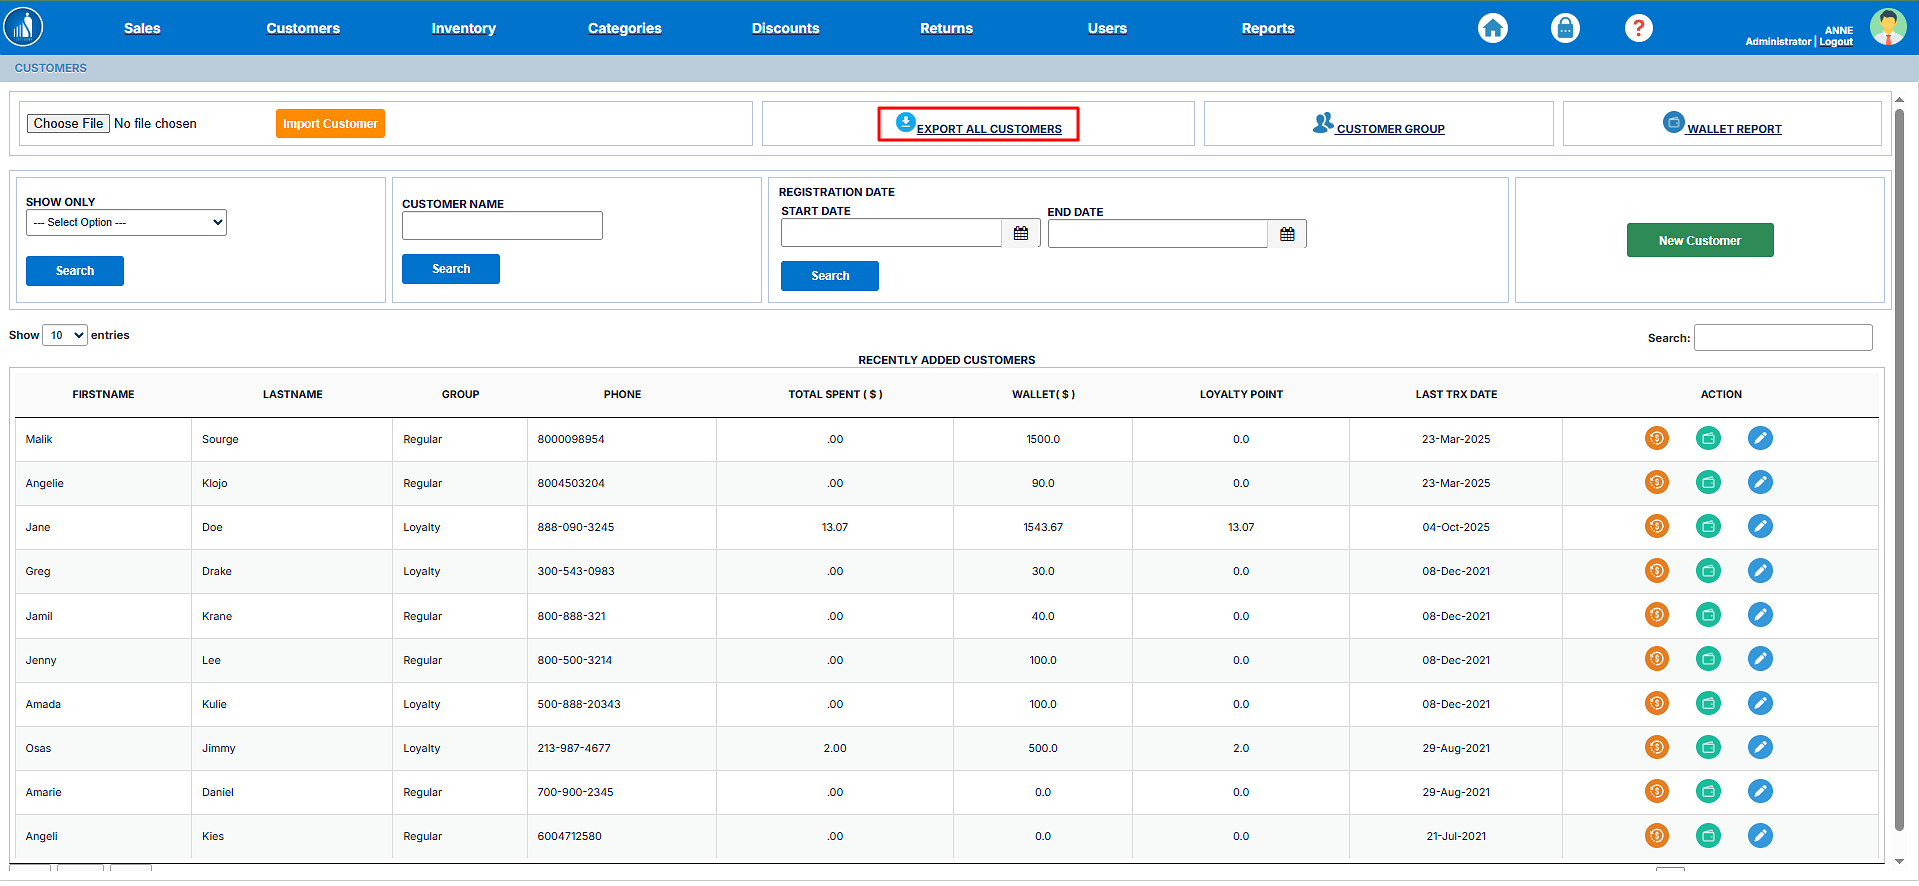
You can export the customers by clicking the Export All Customers option.
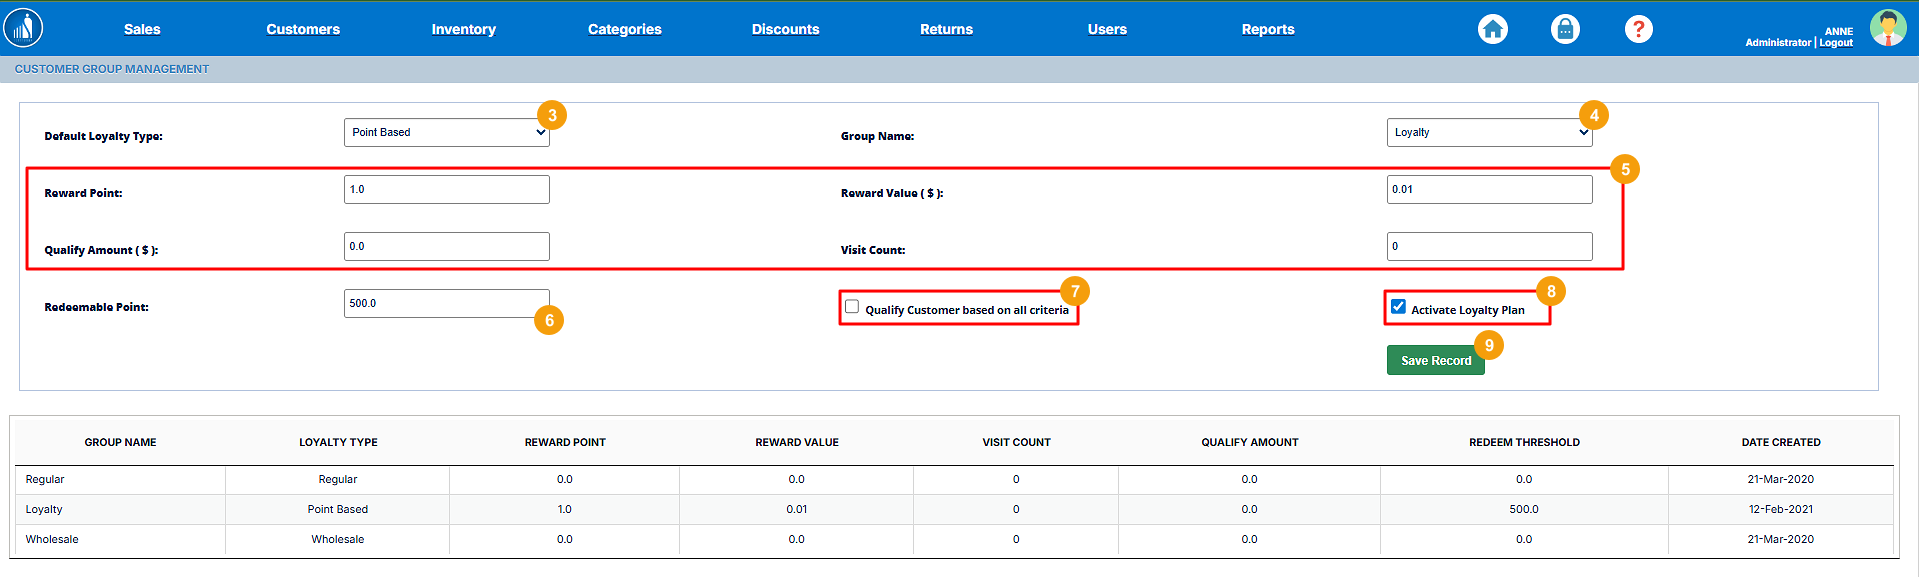
Setting Up the Customer Group
The Customer Groups categorize the customers into different groups. By default, there is only one group, i.e., Loyalty. It categorizes the customers into 3 subgroups:
- Point-Based: The number of points the customer has earned. This is most commonly used.
- Amount-Based: How much amount the customer has spent.
- Visit-Based: How many times the customer has visited the store.
Whenever the customer fulfils any of the requirements for a particular group, they are added to it automatically.
1. Go to the Customers tab.
2. Click on the Customer Group link.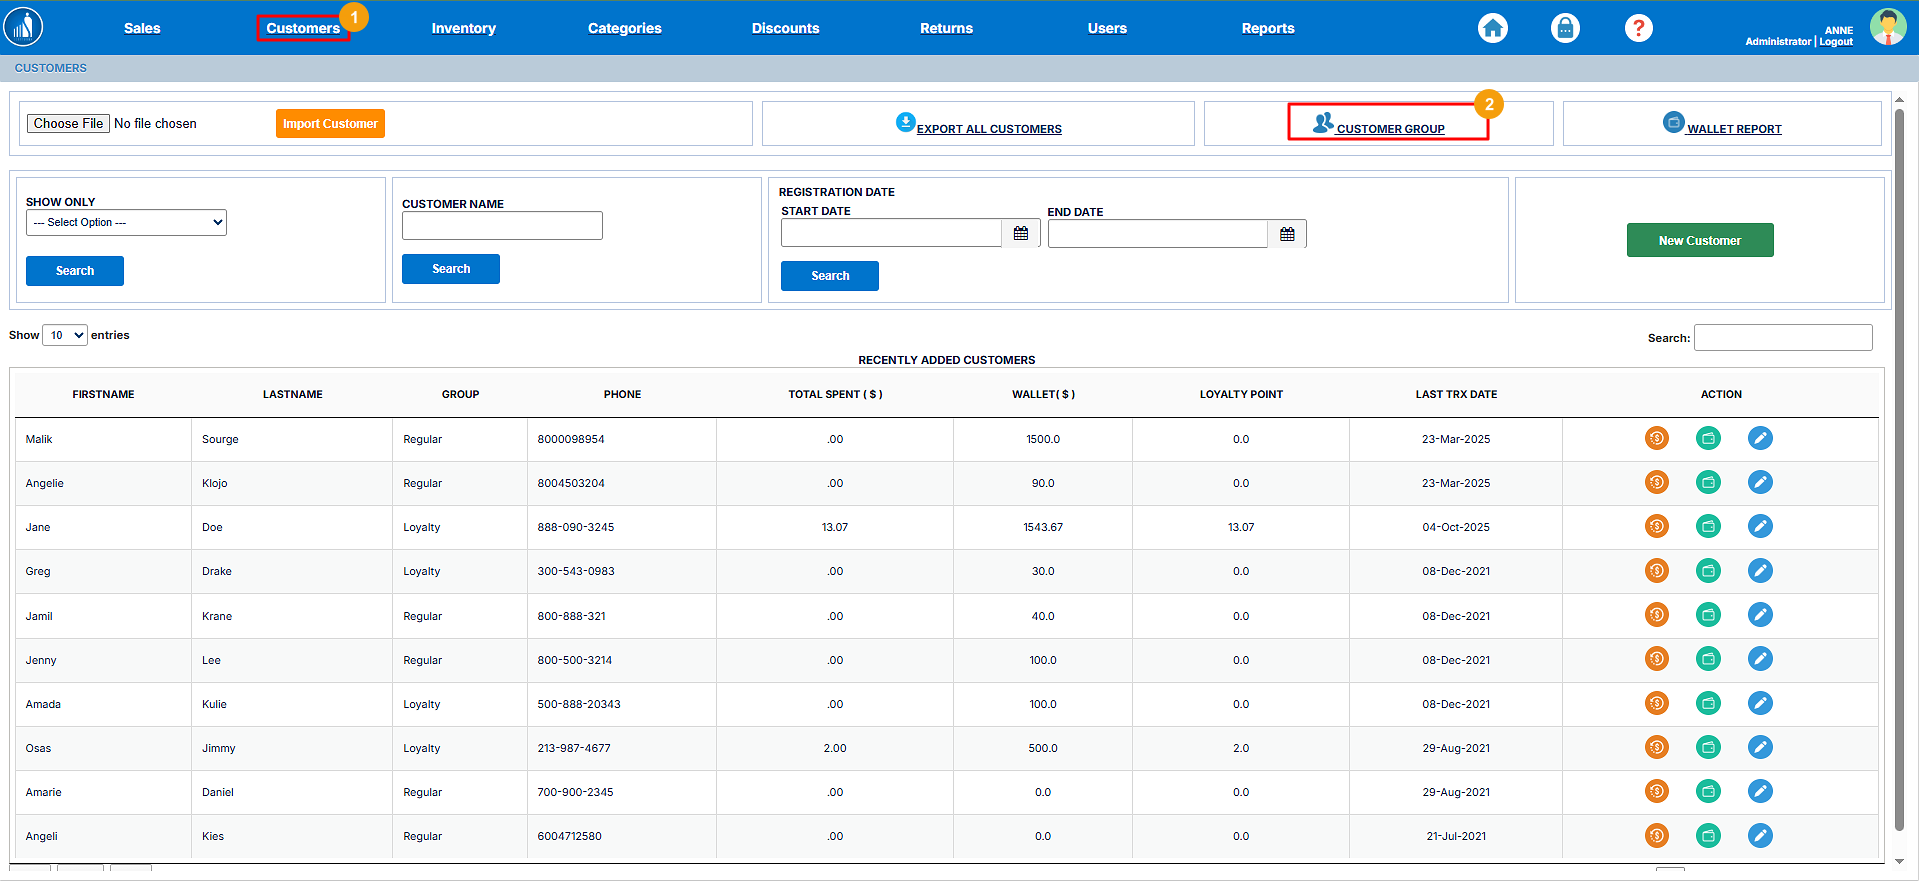
3. Select the loyalty type.
4. Select group name (By default, Loyalty).
5. For point-based, enter the Reward Points and Reward Value. For amount-based, enter the minimum amount to be spent by the customer and for visit-based, enter the minimum number of visits.
6. Specify the redeem points.
7. Select if you want the client to qualify for a group based on all criteria.
8. Activate or deactivate the loyalty points.
9. Hit Save Record.
How to Search a Customer?
You can search for a customer by group, name, or registration date.
Search by Group
1. Select the Customer Group.
2. Hit Search.

Search by Name
1. Enter the customer name.
2. Hit Search.

Search by Registration Date
1. Select the registration starting date.
2. Select the registration ending date.
3. Hit Search.

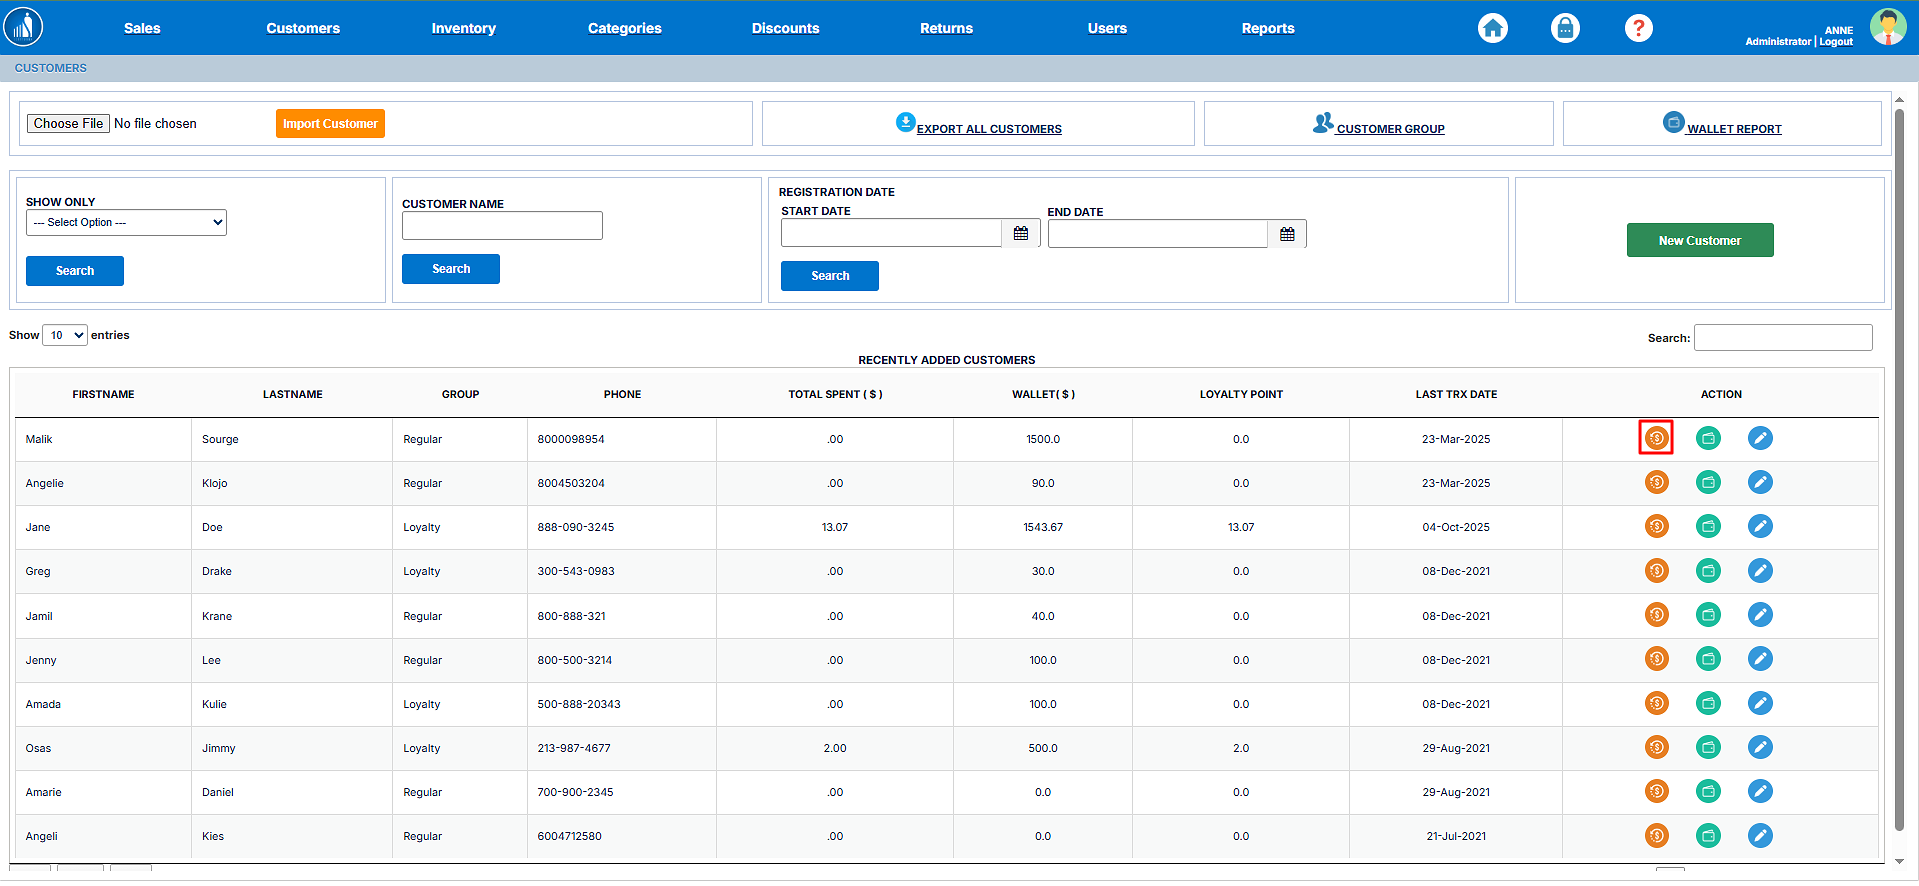
View Customer Transaction History
To view the transaction history of a customer, click on the $ icon.
View Customer’s Wallet
To view the customer’s wallet, click on the Wallet icon.

Edit Customer Details
To modify customer details, follow these steps:
1. Click on the Pencil icon before the customer entry.
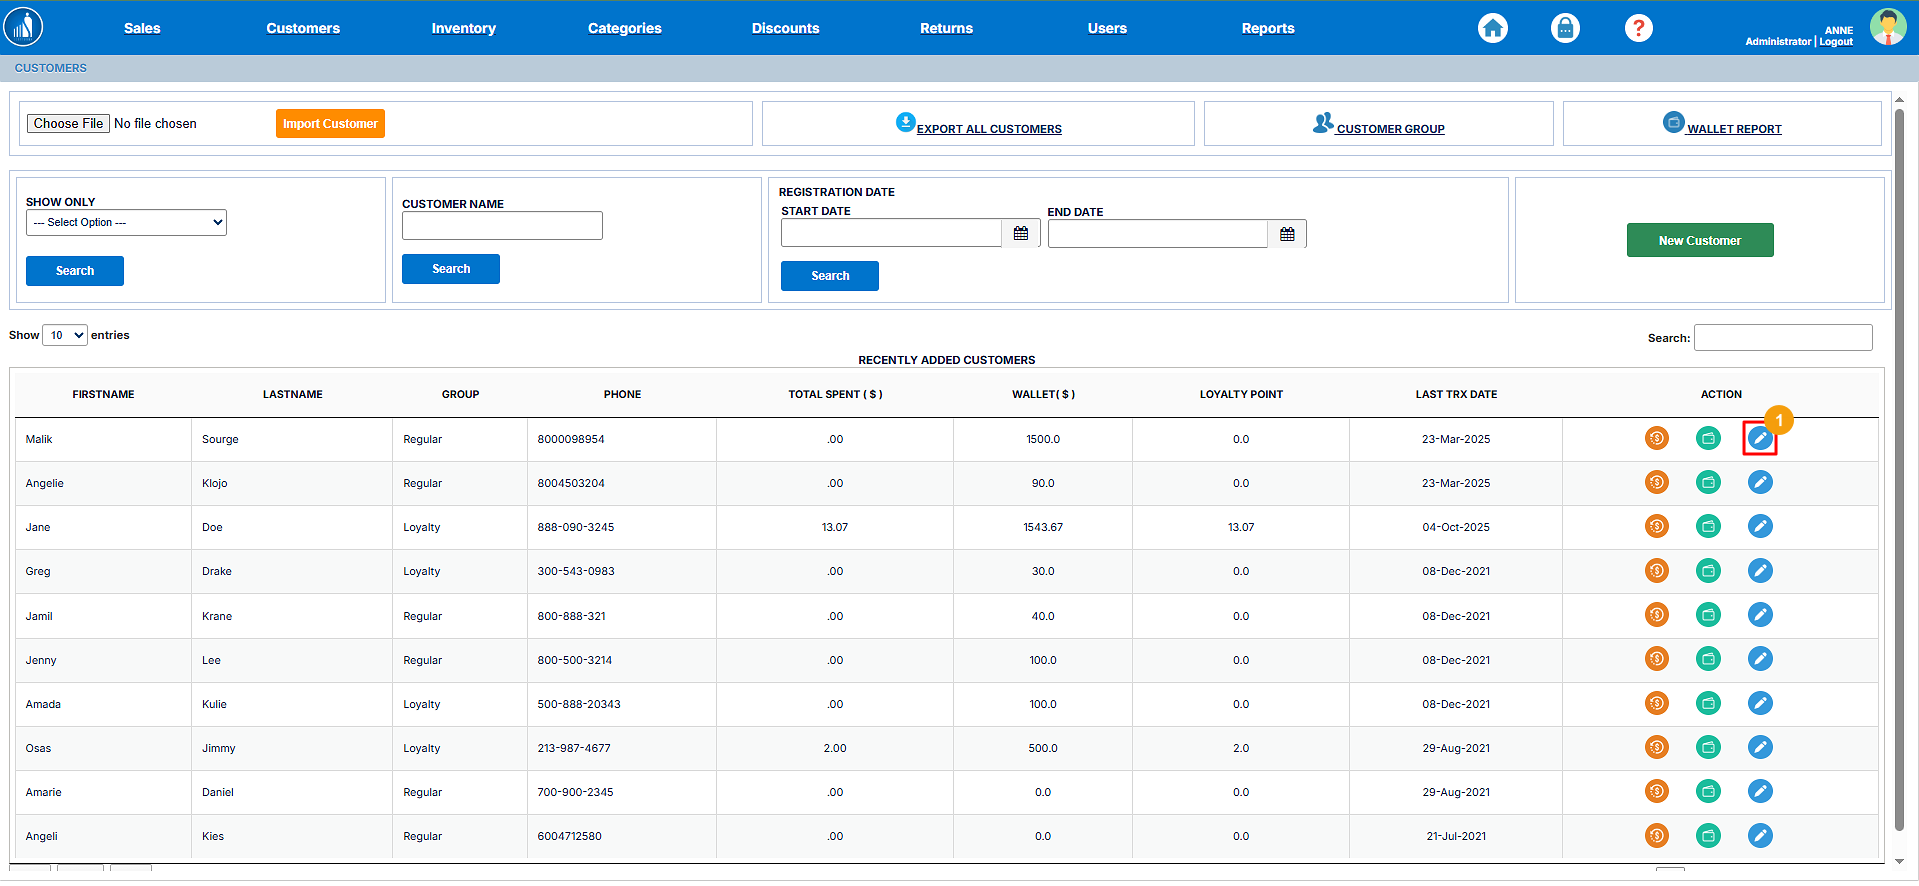
2. Make changes to the record.
3. Hit Save Record.
